In this day and age, doesn’t matter if you are a business, personal brand, student, or professional, your web presence is a must.
Plus, more and more businesses are shifting online because their potential customers are online. If you own a business or have an idea in mind, not going digital with it will make you regret it later.
Thankfully, everyone can make their website these days. YOU can create a website by following the simple steps that I am going to discuss below.
Gone are the days when the only way to build a website was by coding. Now, content management systems (CMS) like WordPress let you design a full-fledged website within a couple of hours.
In this article, I’ll provide you with everything you need to go online. If you follow these simple steps, your website will be up and running in no time.
Let’s dive in.
What do I need to create a Website with WordPress?
You’ll need 2 things:
- Domain name
- Hosting
A domain name is your website’s name. Hosting is where your website is located; it’s a space your website takes over the internet.
You will then need to install WordPress to your hosting; most hosting companies have built-in software for a one-click instant install.
We will discuss how can you install WordPress on a host manually too.
Full disclosure: This guide may consist of affiliate links. If you buy a domain and hosting from these links, I earn a commission, at absolutely no additional cost to you.
Want to know how to promote Fiverr gig? See our detailed guide here.

"This page contains affiliate links, if you buy from them,
I will get a commission, at no additional cost to you. Thank you".
Choose a Domain Name
First off, brainstorm ideas about your website’s name.
Incorporating a keyword in your domain name will benefit you, however, it’s not necessary; you can come up with a domain name of your liking or consult your friends.
Make sure the name is easy to read, simple, and small. It would be a plus if the name had your keyword too.
But, don’t fret about the keyword part too much; you can use a brand name too.
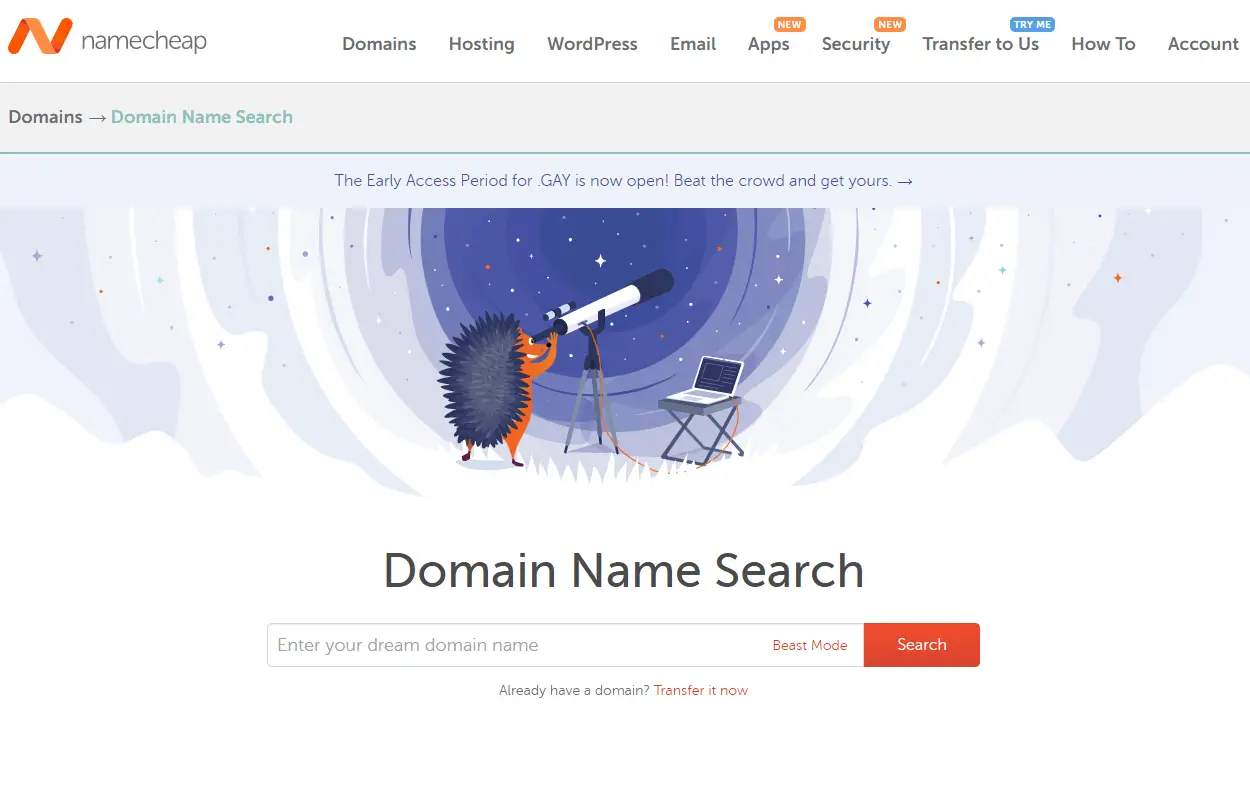
I bought my 3 domain names from Namecheap, and as the name suggests, they are really “cheap”, so go ahead and buy them from here.
Want to know more about how to choose the right domain name for your next website? Read this incredible guide.
Choose a Good Hosting
Next, you would need to get your domain name up on the internet with a reputable hosting company.
There are a lot, but if you are new to this, I won’t recommend going too heavy on your spending.
Go for a company that has a good reputation and doesn’t demand too much of an investment.
Again, I am using Namecheap and am completely satisfied with it. They are offering a FREE domain name when you buy their shared hosting here.

Once you have chosen your domain name and set up your hosting account, you can use a CMS that can manage your website.
I recommend installing WordPress as it’s the world-leading CMS and has plenty of customization potential.
You can easily install WordPress right within your Namecheap Cpanel.

Click install now and WordPress will get installed with your domain name.
Also, make sure you also get an SSL certificate with your domain.
SSL secures your website, making it appear safe for the user and also creates credibility with Google.
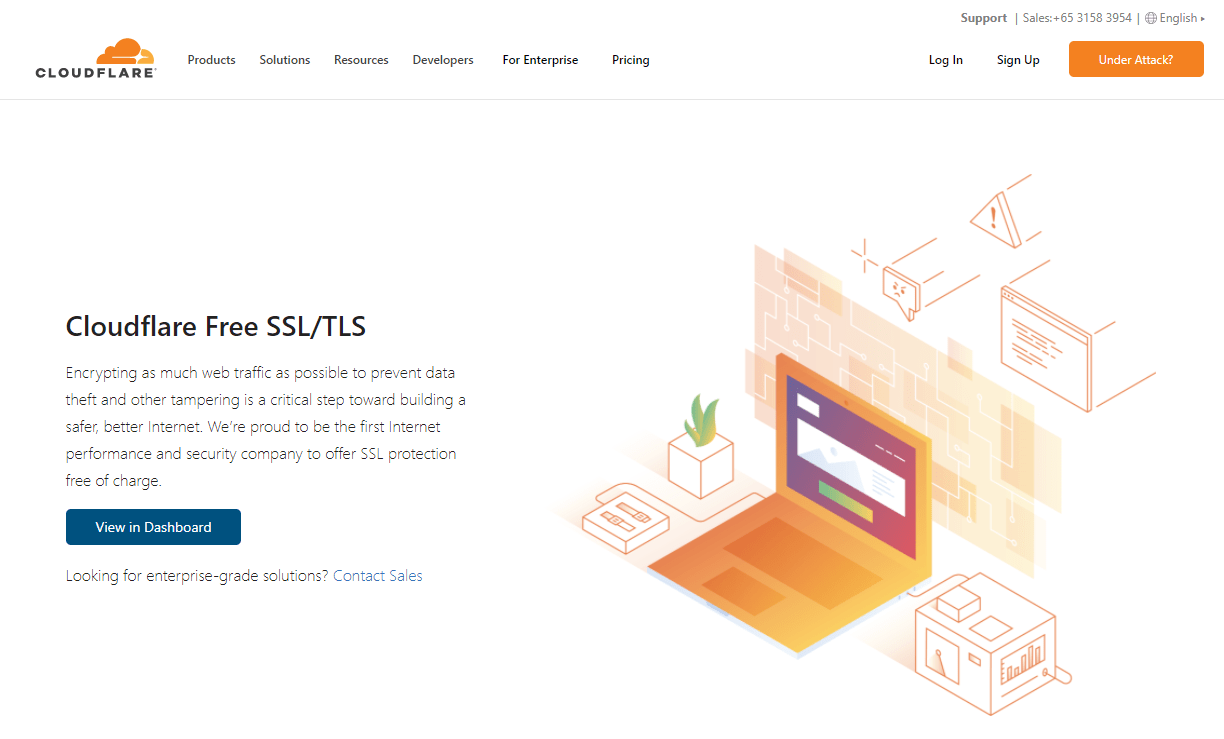
If you didn’t get an SSL certificate with your Namecheap hosting package, you can always get a FREE SSL certificate from Cloudflare.
After installing WordPress, write your domain name into the web search.
You’ll be redirected to the WordPress CMS.

Go to your WordPress dashboard by entering www.yourwebsitename/wp-admin

Now, to create a website with WordPress:
Go to appearance — Themes, search for “Astra” and install and activate it.
Then, go to appearance — customize

Here, you can change your website logo, color theme, typography, and the design of your header and footer.
To create a website in WordPress, you mostly need a page builder.
The elementor page builder is one of the most popular builders, and it has a free version, which will be enough for our purpose today.
Head over to your dashboard, click on “Plugins” — “Add New”. Search for Elementor, install, and activate it.
Head back to your dashboard, click “Pages” — “Add New” — “Edit with Elementor”.
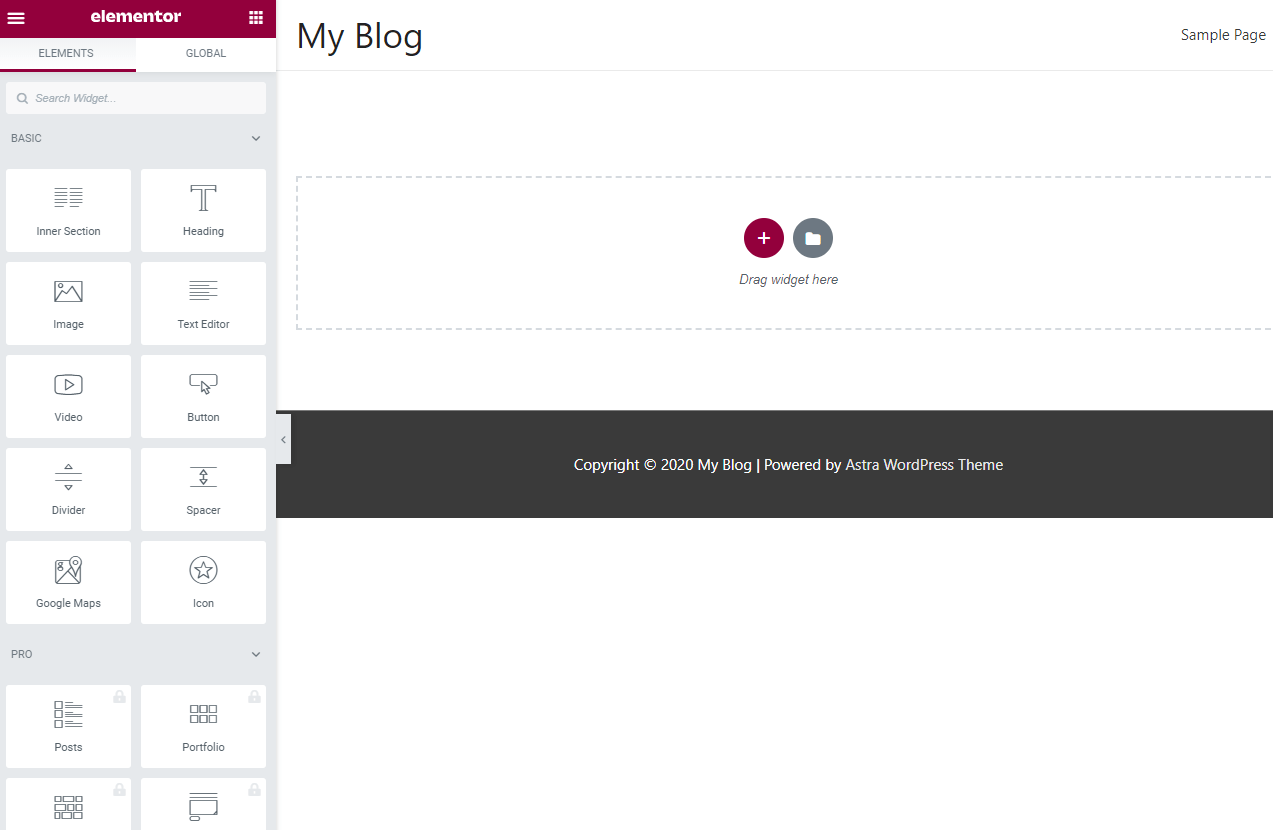
Now, you have a canvass where you can transfer your imagination.
Elementor provides you many free elements, so you can design a pleasant-looking website.
Let’s design a block with Elementor to get you an idea.
Click on the red plus icon.

Click on the two-column block.
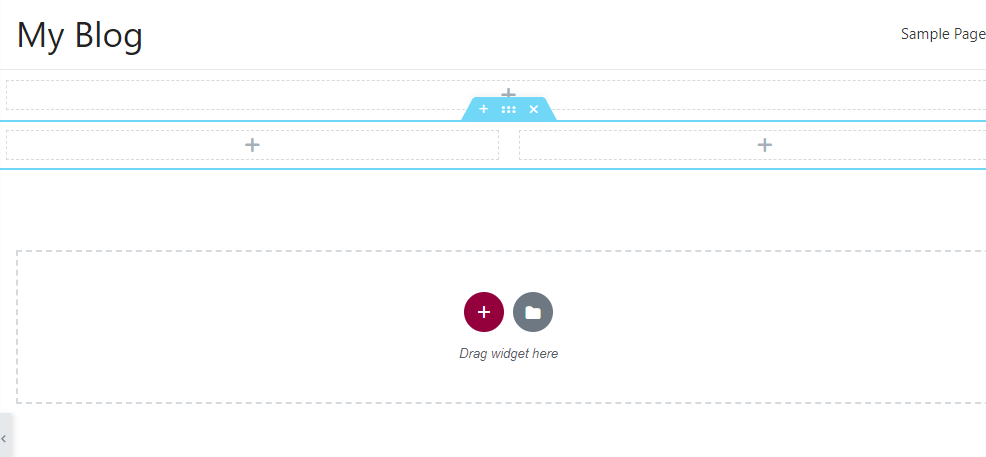

Now, we will drag the “heading” widget into the first column.

Now, add any text you want in your column’s heading.
Similarly, you can add text, button, video, image, and more.
Let’s add a paragraph now.
Drage the “text editor” widget underneath the headline.
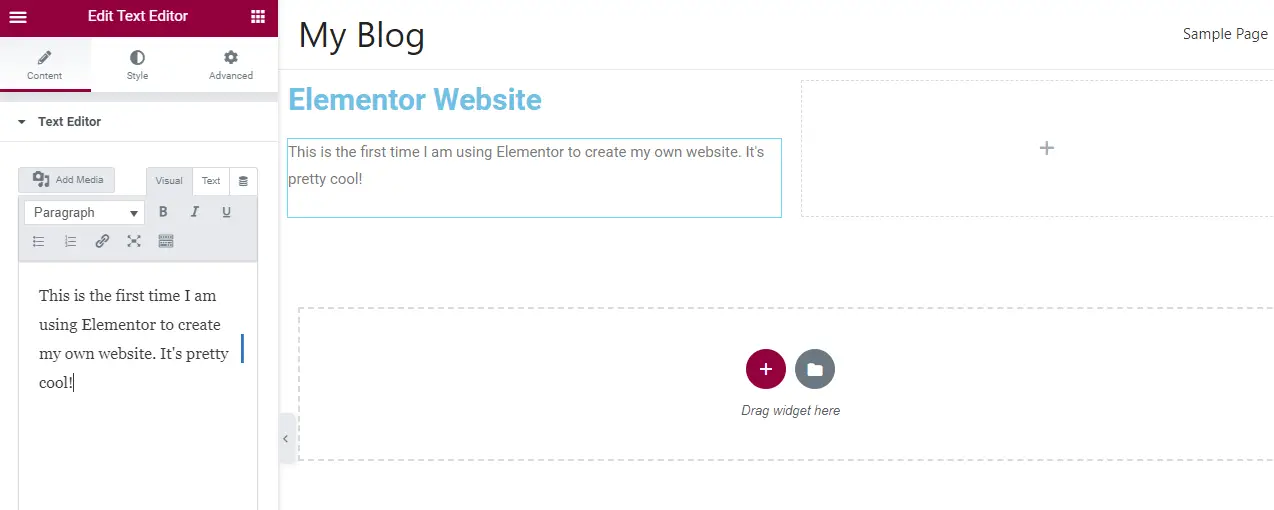
Once, you create a website with WordPress, you can have it live just by clicking the “Publish” button at the bottom left of the elementor page.
You can create as many pages as you want including the blog, services, products, or contact page.
Just click “Pages” — “Add New”, then change its name to whatever you want.
Congratulations! You have learned how to create a website with WordPress and Elementor.
Keep working on improving your website to drive traffic and monetize it.



151 thoughts on “How To Create a Website with WordPress and Elementor Free”